Showing posts with label Shabby Chic. Show all posts

Thursday, July 18, 2013

The DIY Bride Workshop


I've completed one item in my bucket list! Hooray for taking chances and following ones' heart!!! Last May 25, I conducted The DIY Bride workshop at my favorite craft store, Lasting Impression. With an excitement I can't contain, I met happy and wonderful ladies who were eager to learn crafts. Everybody greeted everyone with a friendly smile.

We started the workshop by making lace headbands for flower girls and/or entourage.

Craft lesson #1: Be in the zone and always get your game face on.


Next project was to make your own wedding garter.

Craft lesson # 2: Always be careful when sewing, use a thimble if possible.


Yarn pompom was next. The colors are soooo pretty! The pop of different hues gave us even more inspiration. :)

Craft lesson #3: Don't overlook simple materials. It is from simple things that beauty grows.


This is me doing yarn pompoms arrangement ala Candidly Pretty. And oh yes, I'm proud to wear the headband I made!


Perhaps this is the most tedious of all the crafts we did - the kudusama flower.

Craft lesson #4: Paper is pretty. Paper is lovely but it can cut, oooh that's an ouchie!


These is us all giggly! Funny how I can still hear our chuckles just by looking at this photo.


It was a very productive day. Thank you ladies for sharing your precious time. I hope that what you learned will inspire you to make and create.

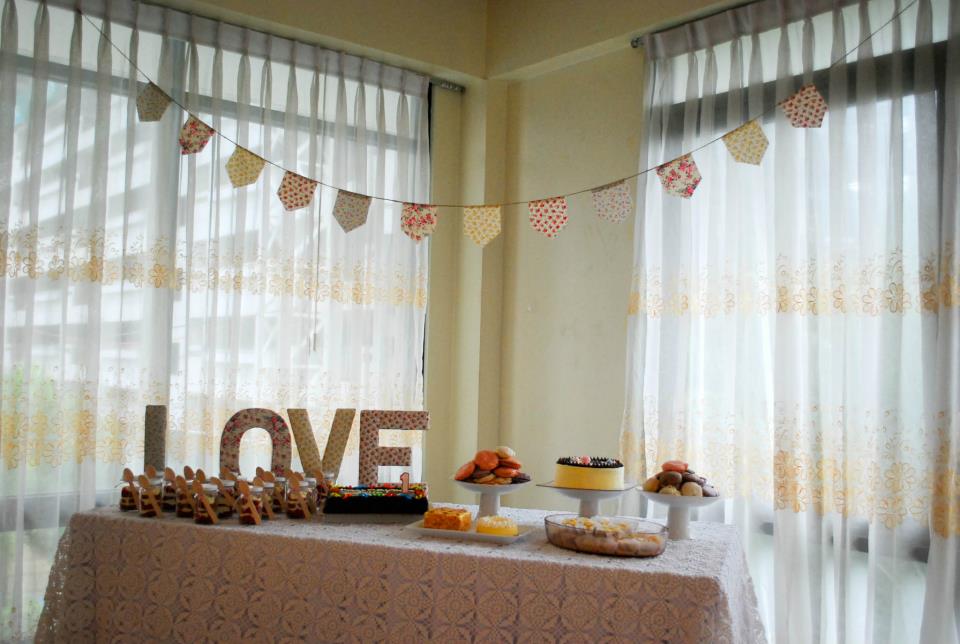
Gratitude to the Lord for giving me the courage to take chances,  trust my instincts, and follow my heart. None of this will be possible if not for the love and support of my husband. Thank you Mr. Esteban! And as always, the photos you took are beautiful. Cheers to my friends, Ella for hand-painting the poster and participants' canvass bags and Geli for the yummy Red Velvet cupcakes!!!

Until the next workshop! :)

Wednesday, March 13, 2013

{DIY Love} Fabric Flower Garter


Hi lovelies! It's been quite a while since my last DIY tutorial post. Work and crafting has been extra challenging to balance lately. But I'm back and very excited to teach you how to make a fabric flower garter for your wedding day. Let’s get our hands busy shall we?


There are the materials you will need:

- strip of satin fabric
- elastic lace ribbon
- embellishment such as old buttons, rhinestones or gems
- scissors
- glue gun
- needle and thread
- felt cloth


Step 1: Sew a basic running stitch along the edge of the satin fabric strip.


Step 2: Pull the thread and bring both ends of the fabric strip together. This will create ruffles forming
the flower. Secure by stitching a knot.


Step 3: Hot glue the rhinestone on the fabric flower.


 Step 4: With a small piece of felt cloth, hot glue both ends of the elastic lace ribbon as such.


Step 5: Secure the fabric flower on the felt cloth and elastic lace ribbon using a glue gun.

There you have it – an easy and pretty project to bring out the crafty bride in you! Until the next tutorial,
ciao!

Tuesday, July 24, 2012

{Intimate Event} Julia's Shabby Chic Dedication & Birthday Party

Intimate celebrations have a fluffy-cotton-candy-effect on me... I get extremely excited every time I am invited to attend celebrations meant for close family and friends. Small parties with a BIG heart, that’s how I see it.

When one of my closest buddies, Leah, asked me to be a god-mother to her bundle of joy, Julia Lauren, I was completely honored and happy. Leah requested my assistance in preparing for Julia’s Dedication and 1st Birthday party. I was so thrilled of course! And to my delight, her theme was a personal favorite, shabby chic!


I was thrilled to be in charge of the dessert table! I decorated it with fabric-covered letters and hand-stitched mini buntings that were intricately made with LOVE =)


Raquel baked apple squares, a tasty recipe from her mommy =)


Leah entrusted me to work on the party favors. With the theme in mind, I came up with these pretty pastel-colored hankies.


She wanted to give cupcakes as tokens to Julia’s godparents. I’ve spent sleepless nights thinking of how to make these yummies even more special… Thanks to Google, I found cupcakes in a jar!!! My craft zizters and I collaborated on this scrumptious project. Geli baked red velvet bars with cream cheese frosting and Ella made handwritten tags. They had been so enthusiastic with working with me on this project! Together we came up with this. =) Isn’t it so delectable-looking! It really is a sweet treat! Merci beaucoup gurlz!!!


It took me more or less a hundred hours to conceptualize, source, collaborate, and make by hand these pretty little things. I’m a very tired girl with a very happy heart!

{all photos are from Hello Gelibee's lens}

Thursday, June 14, 2012

{DIY Love} Lace Chandelier Tutorial

Oh happy day!!! =) Yey! I am so excited to share my first ever DIY tutorial! I've penciled in a long list of projects for this first post. It had been a very difficult decision to make as I have a thousand projects in mind! But after surrendering to the fact that I uber love laces and any thing that is shabby chic, I rested my case and decided to create lace fabric chandeliers. These chandeliers are dainty and pretty. They go well as decors for rustic and shabby chic themed weddings. Imagine your garden ceremony/reception filled with these flowing and pretty things, eye candy right? So let's get started and craft some DIY love =)


Materials:
- Lace fabric
- Embroidery hoop
- Jute string
- Scissors


Step 1: Cut the lace fabric into strips of 2 inches wide and set aside.


Step 2: Using 2 separate jute strings, tie a knot at four points of the embroidery hoop.


Step 3: Start filling the chandelier base by tying a piece of lace onto the embroidery hoop.


Step 4: Repeat step 3 until the embroidery hoop is filled with lace strips.


Voila! The lace chandelier is now ready. Easy and breezy =)


Did you find this project easy to do? I'd like to hear from you =)


*Photos were taken by Joseph, Candidly Pretty's Cuppycake. Thank you so much! They are so lovely!*